
This past year has felt like a trip on that old tilt-o-whirl carnival ride that’s still not quite ready to stop.
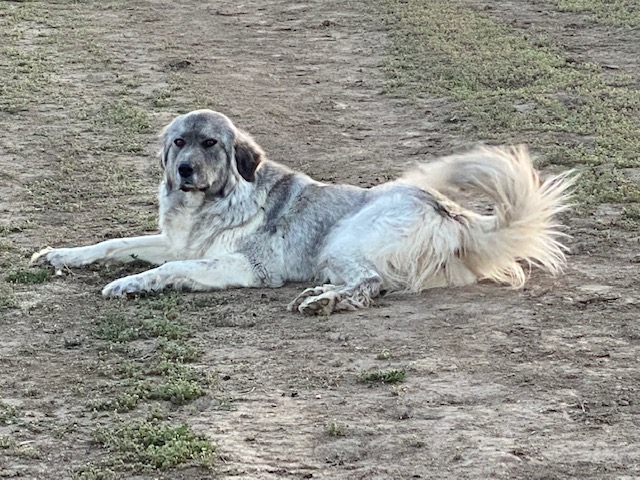
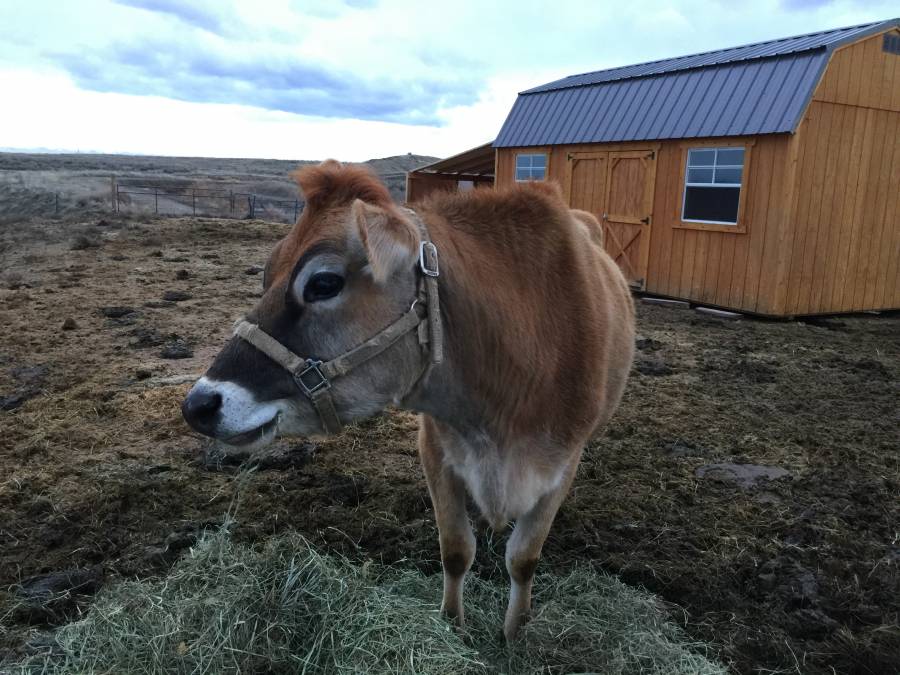
We never got that litter of much anticipated livestock guardian puppies, but our family was gifted with a precious puppy who promises to more than earn her keep as a herding dog.
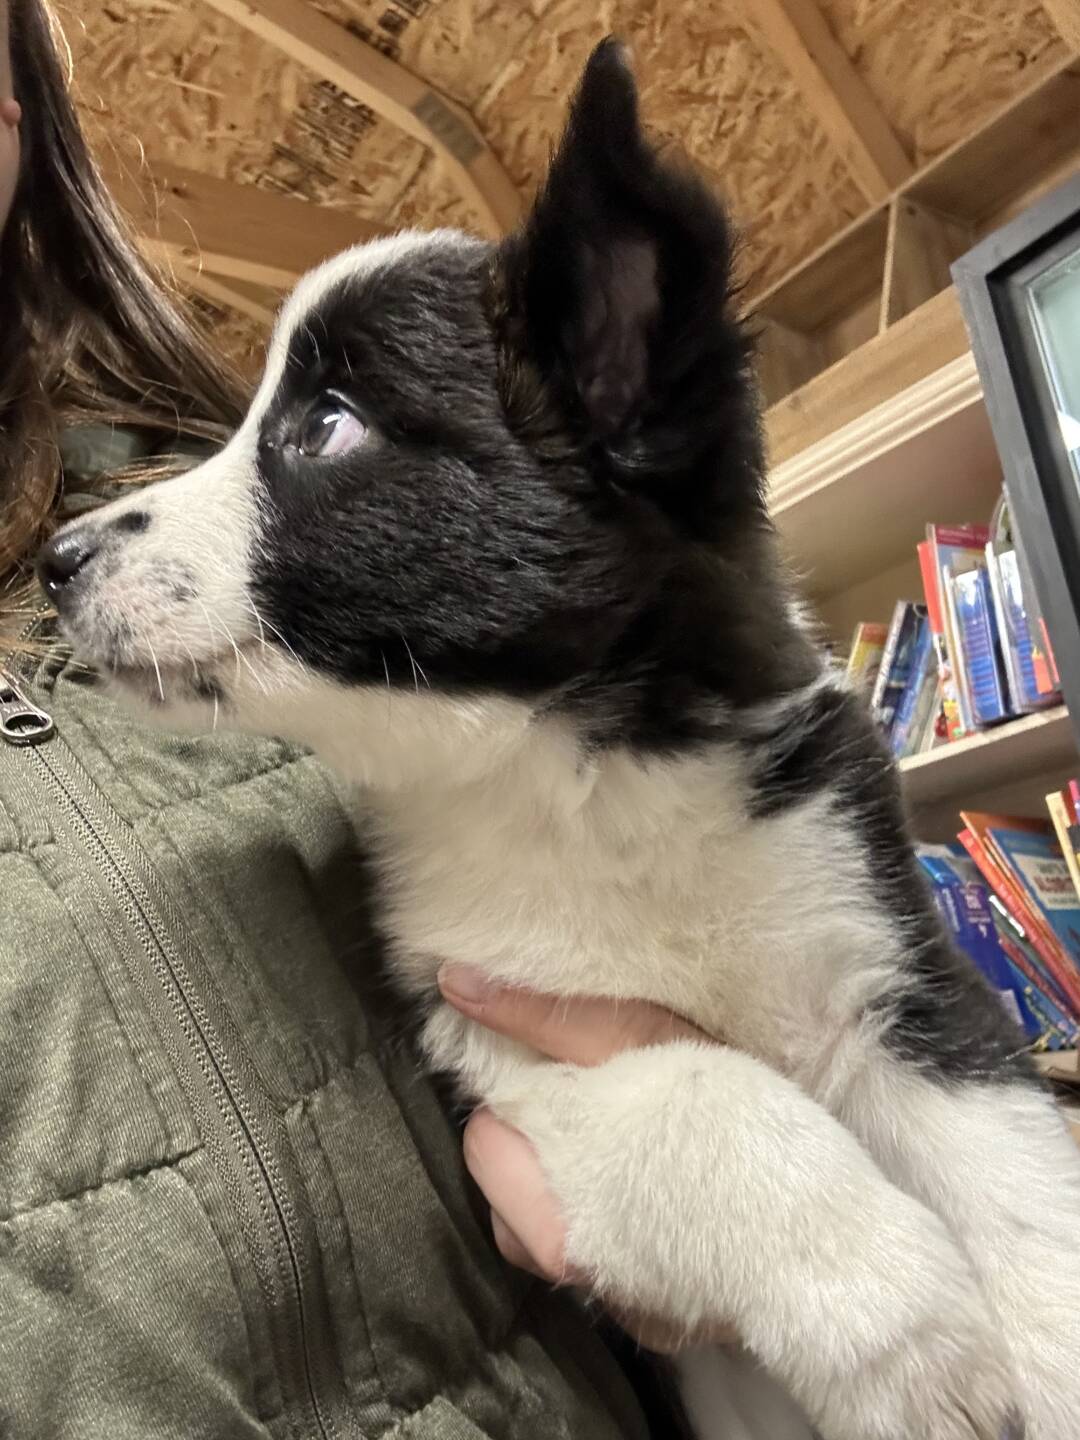
Fluffy is 1/2 Border Collie, 1/4 Jack Russell Terrier, and 1/4 Kelpie, and 100% smart.
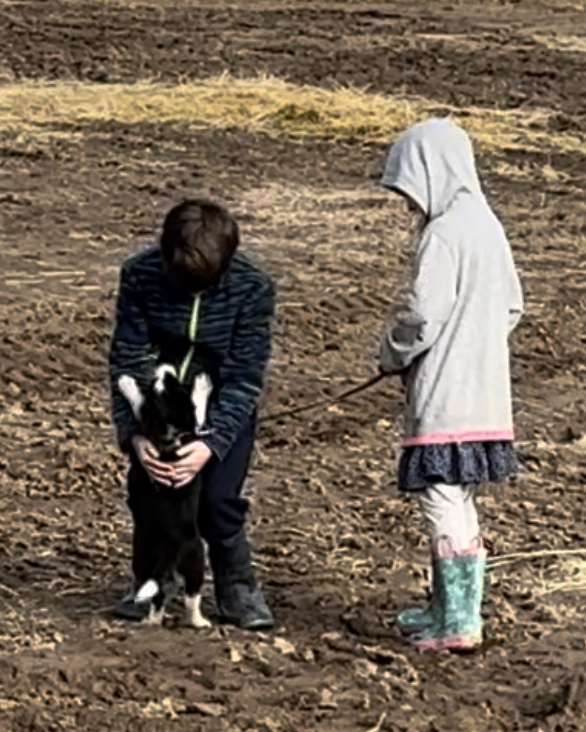
It’s obvious she’s taking after her mother (our neighbor’s dog) already winning over all the people she meets and convincing the sheep they ought to walk exactly where I want them to go.
We have just wrapped up a year of manning the farm while living out of our RV and watching a fantastic crew build our new house. Homeschooling and dealing with the mud and muck of farm life with our family of seven in a 29′ RV has certainly cultivated a sense of gratitude for our new home (due to be finished in late March or early April) like nothing else could.
Once we’re set up in our new quarters we will be organizing some more farm fun days.
If you would like to visit–or have some kids in your life who would love to meet the animals and run off some steam–be sure to drop me a note!
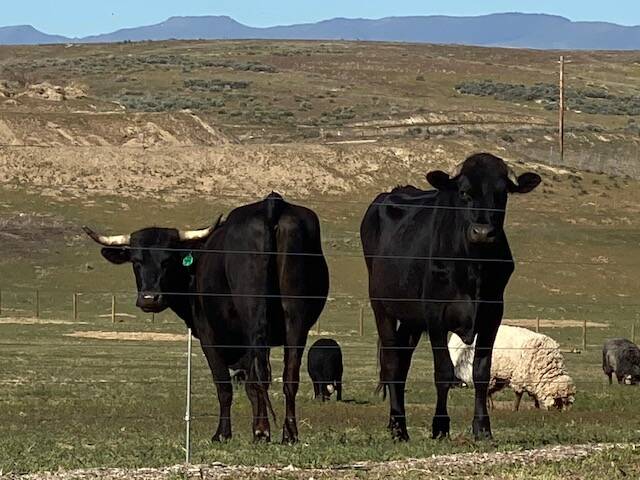
We are thankful to have weathered another year of drought and skyrocketing hay prices without being forced to sell out entirely–although our cattle herd has been reduced somewhat.
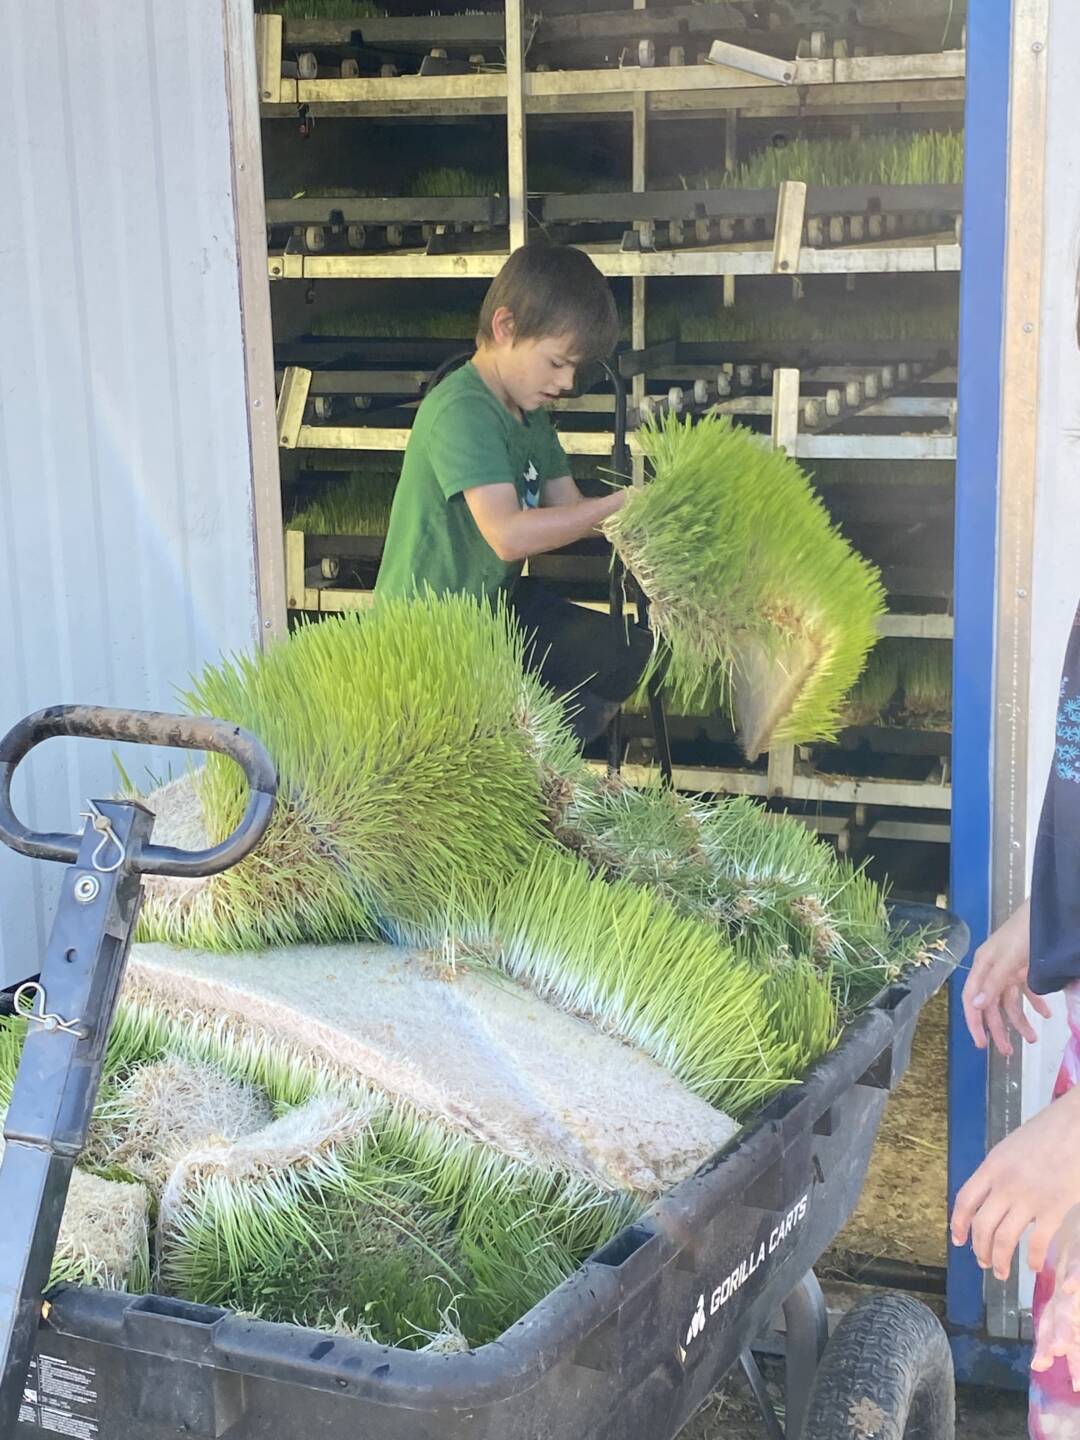
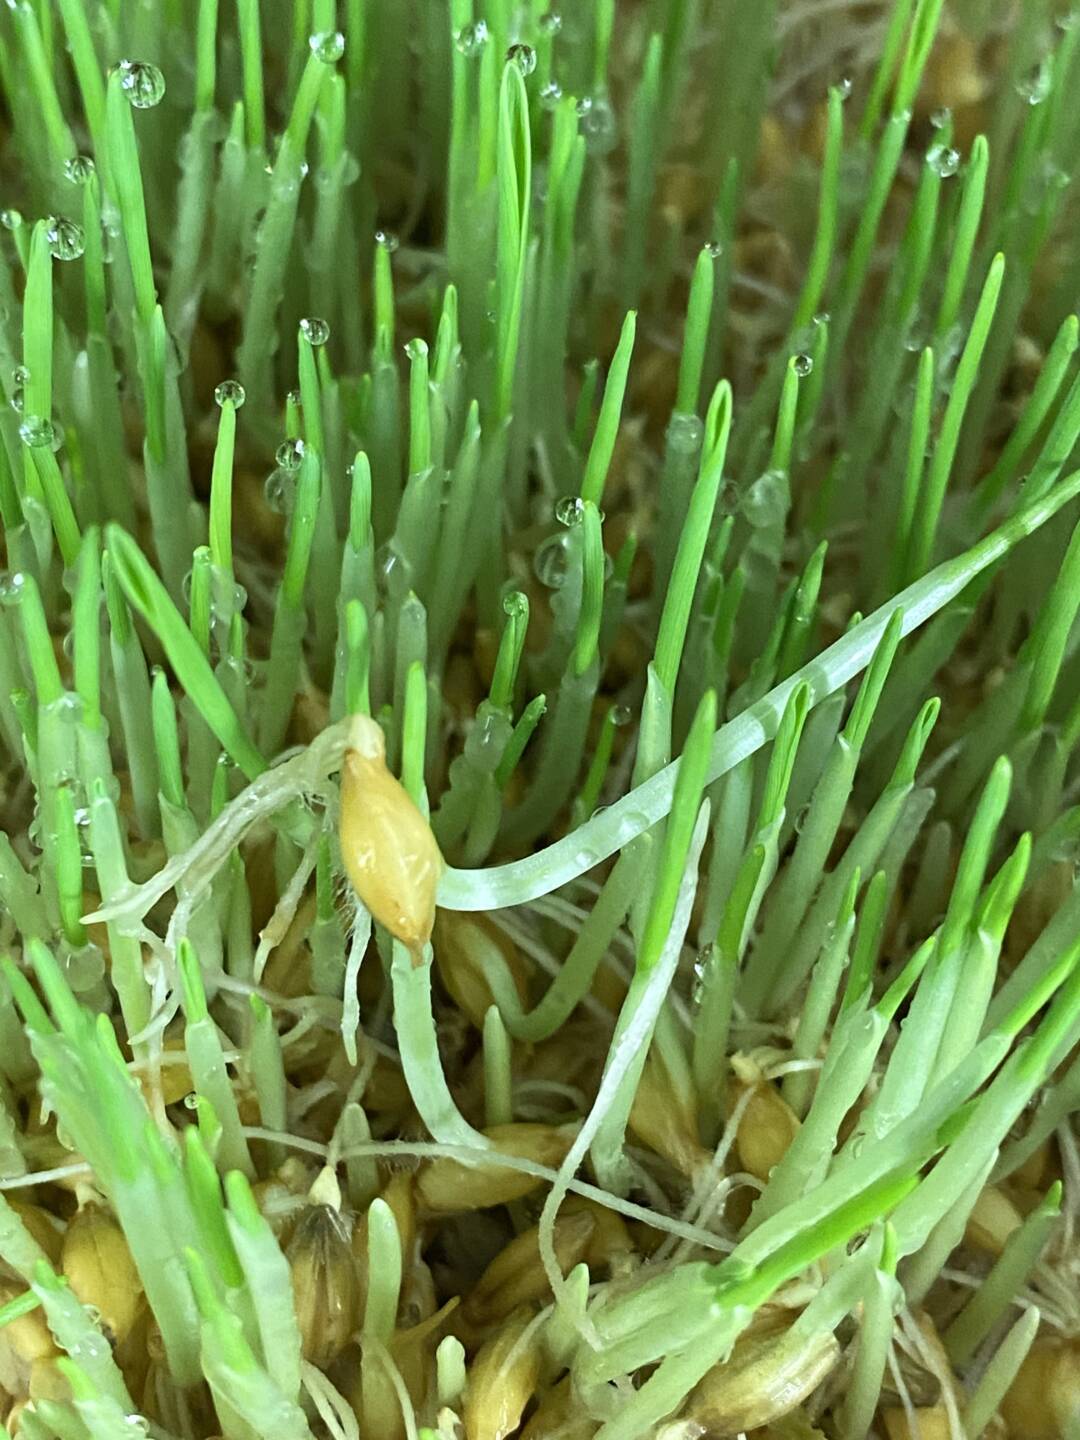
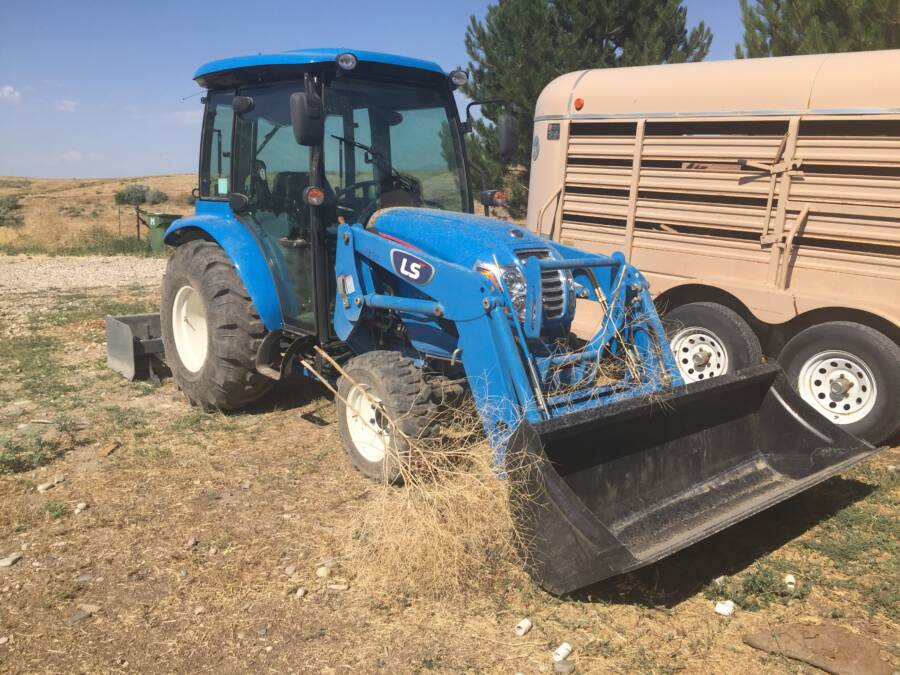
In the process of figuring out how to keep our dryland farm operation running while dealing with hay prices that have more than doubled we ended up investing in a massive unit that allows us to grow our own grass from barley seeds during the winter and driest part of the summer.
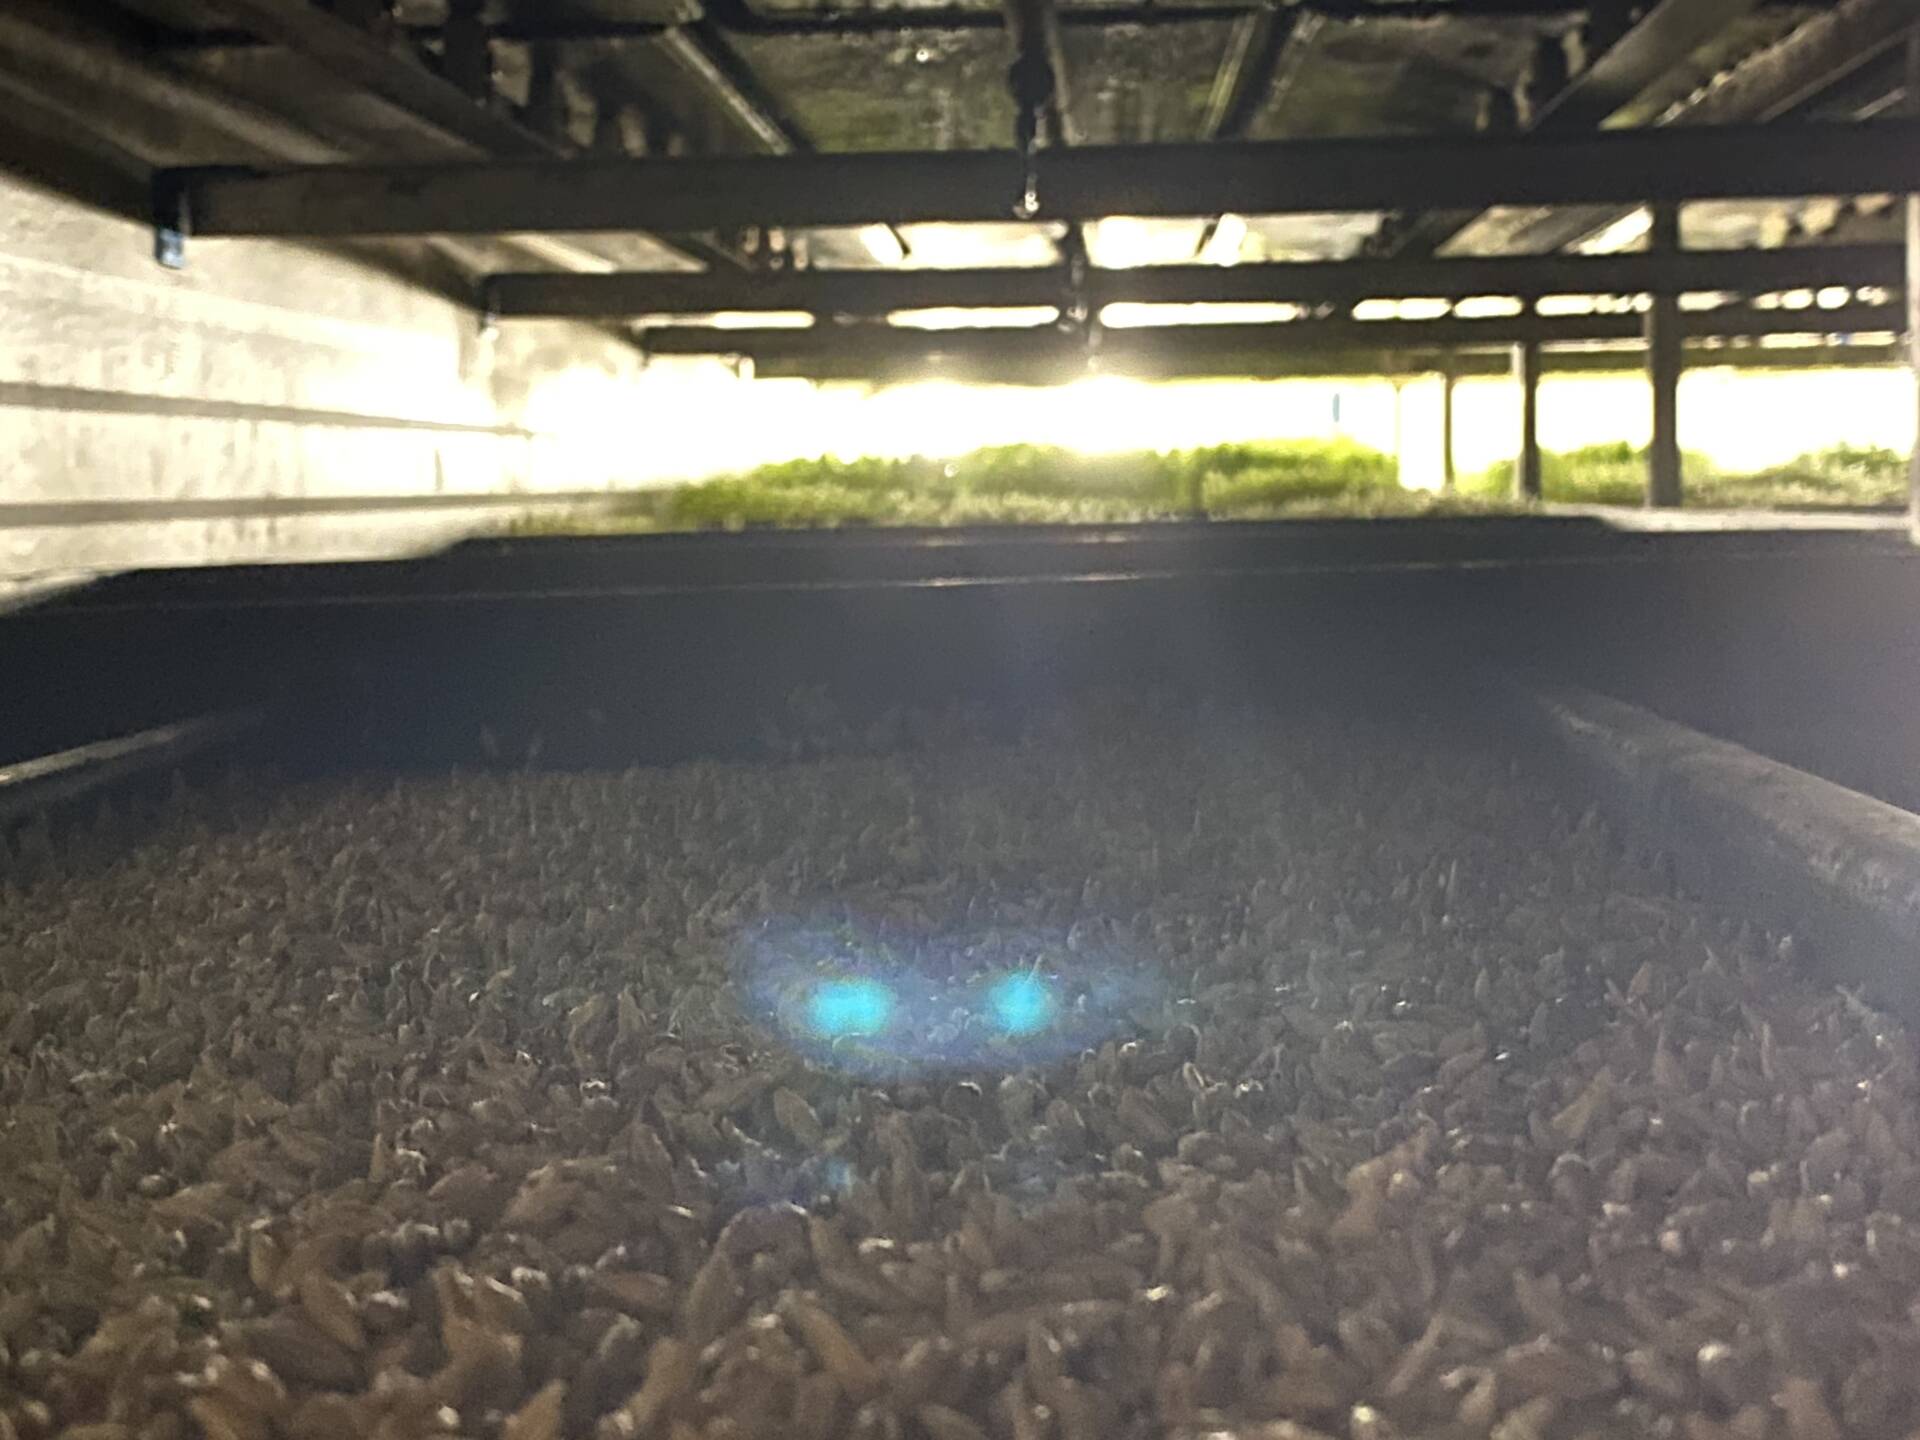
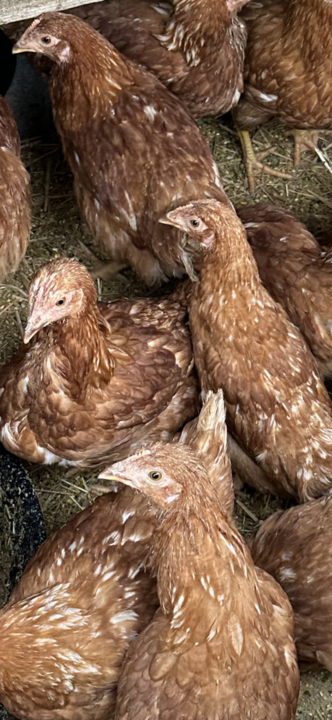
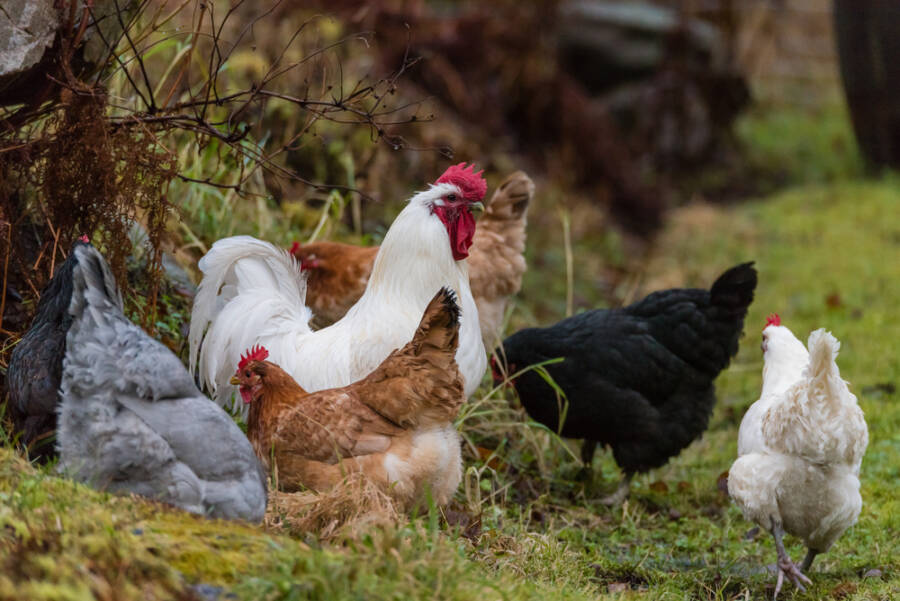
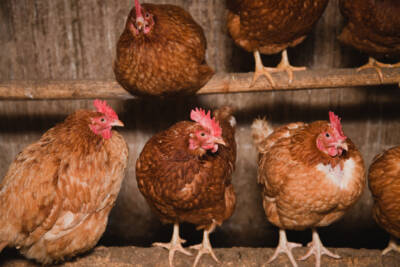
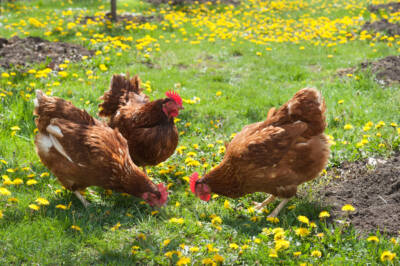
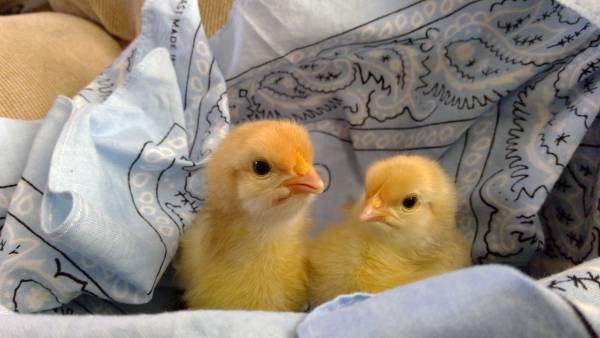
It’s been a challenging process to use this system to meet the needs of our ruminants (cattle and sheep), but barley sprouts have proven to be a massive hit with our poultry.
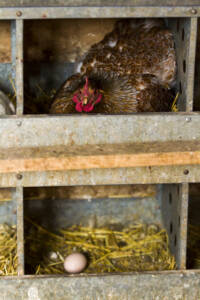
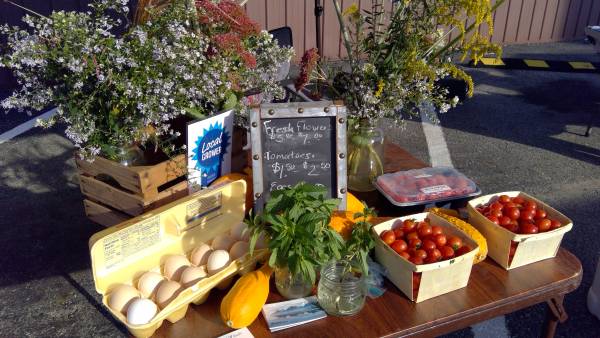
That means we are adding an additional 30 brown egg laying hens to our flock in May.
We also have another 40 colored egg layer chicks coming in May some of which will be offered for sale as pullets once they’ve matured.
For chicken keepers we are offering our sprouts as chicken feed for $0.20 per pound (equivalent to $8 per 40 pound bag of chicken feed). You can read more about using sprouts for laying hens here.
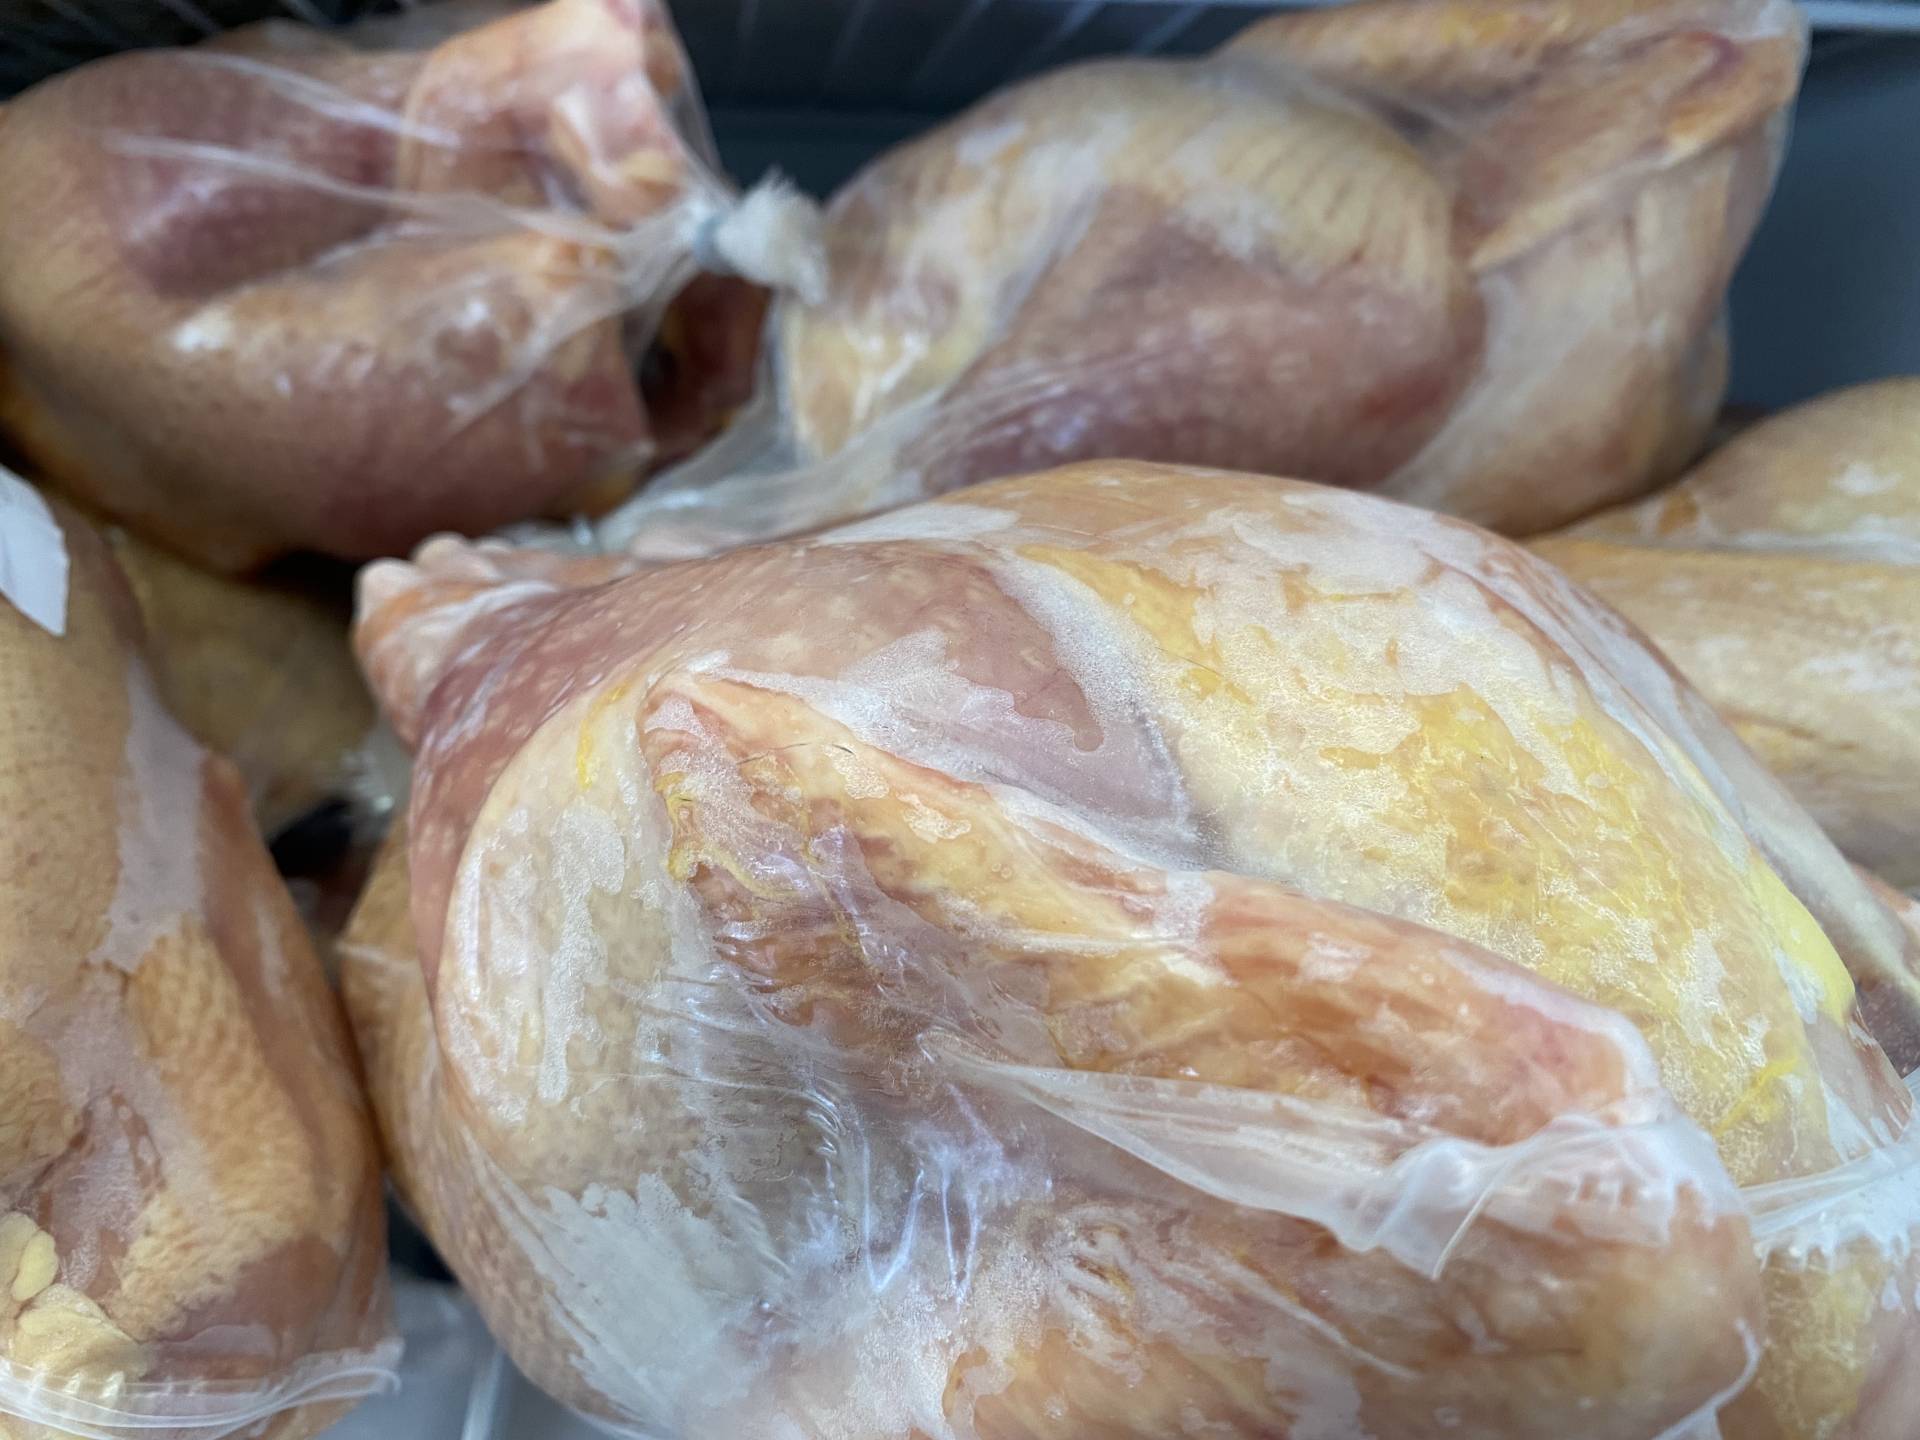
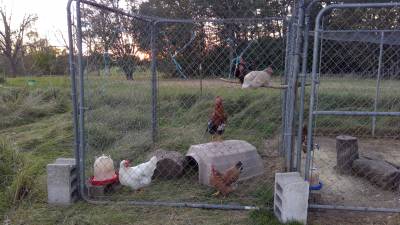
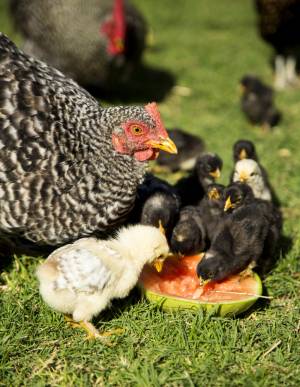
We will likely also attempt to expand our meat chicken operation over the next year.
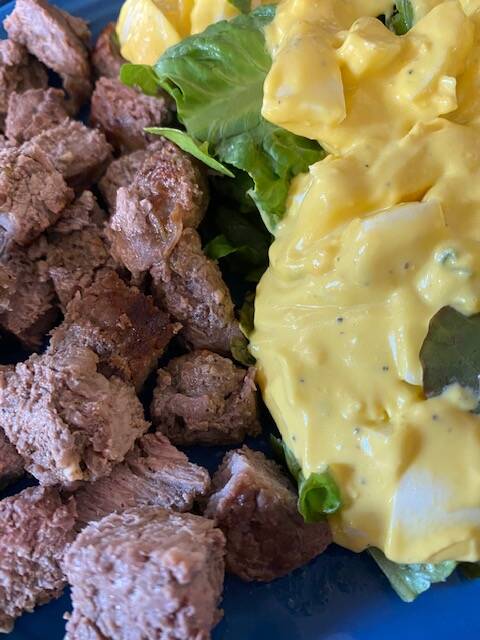
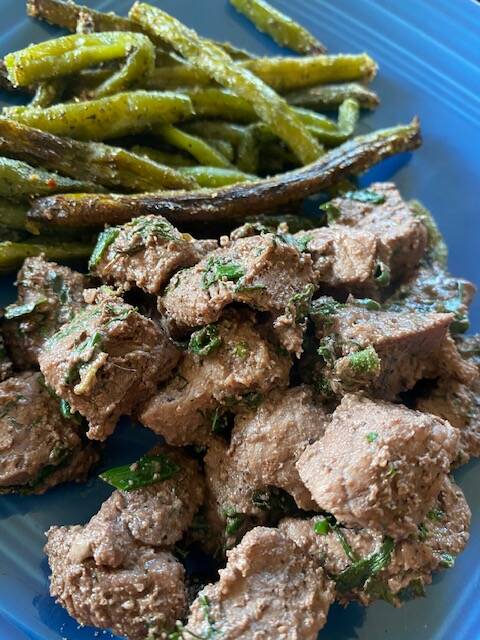
Over the past decade–as long as we were living in the United States–our family has been using our own pastured chicken meat for home cooking exclusively.
The flavor of the meat is almost impossible to beat and the bones make a fantastic rich broth.
The downside is that the cost of purchasing, feeding, and processing each chicken continues to increase. At this point, the best price we can get on newborn chicks is $3.30 each and processing is $5.25 per bird with an additional $3.00 fee for cuts.
We are hopeful producing our own feed more inexpensively and maintaining our own breeding flock of heritage meat birds so we can hatch eggs next year will help us produce a more affordable poultry.
While it doesn’t always make perfect financial sense to keep chickens as part of our farm enterprise, overall food chain fragility and the dangers posed by bird flu makes maintaining small flocks a good idea.
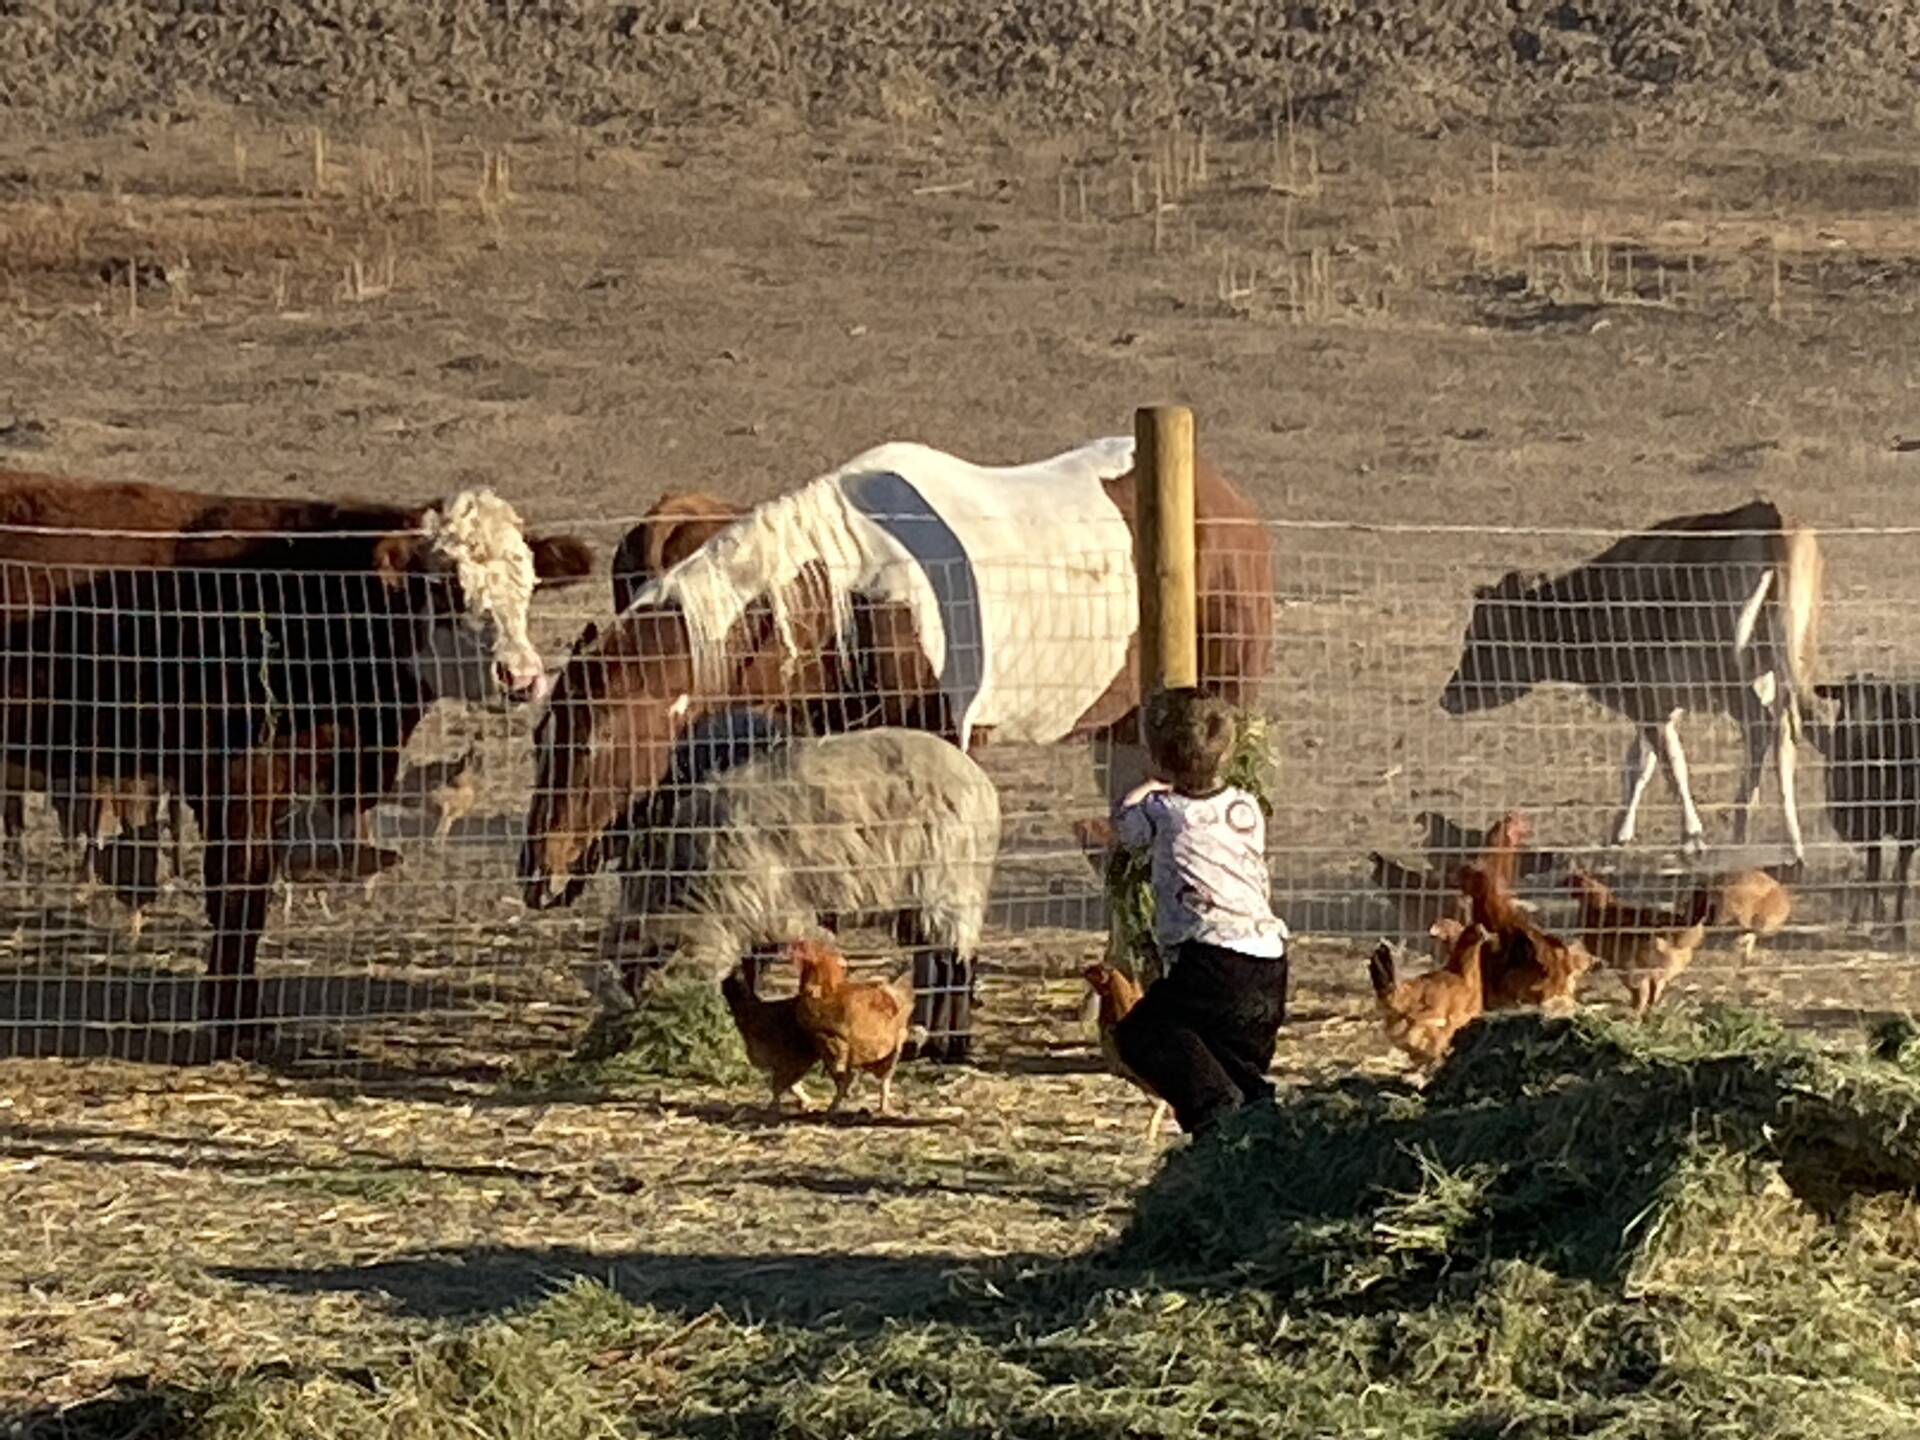
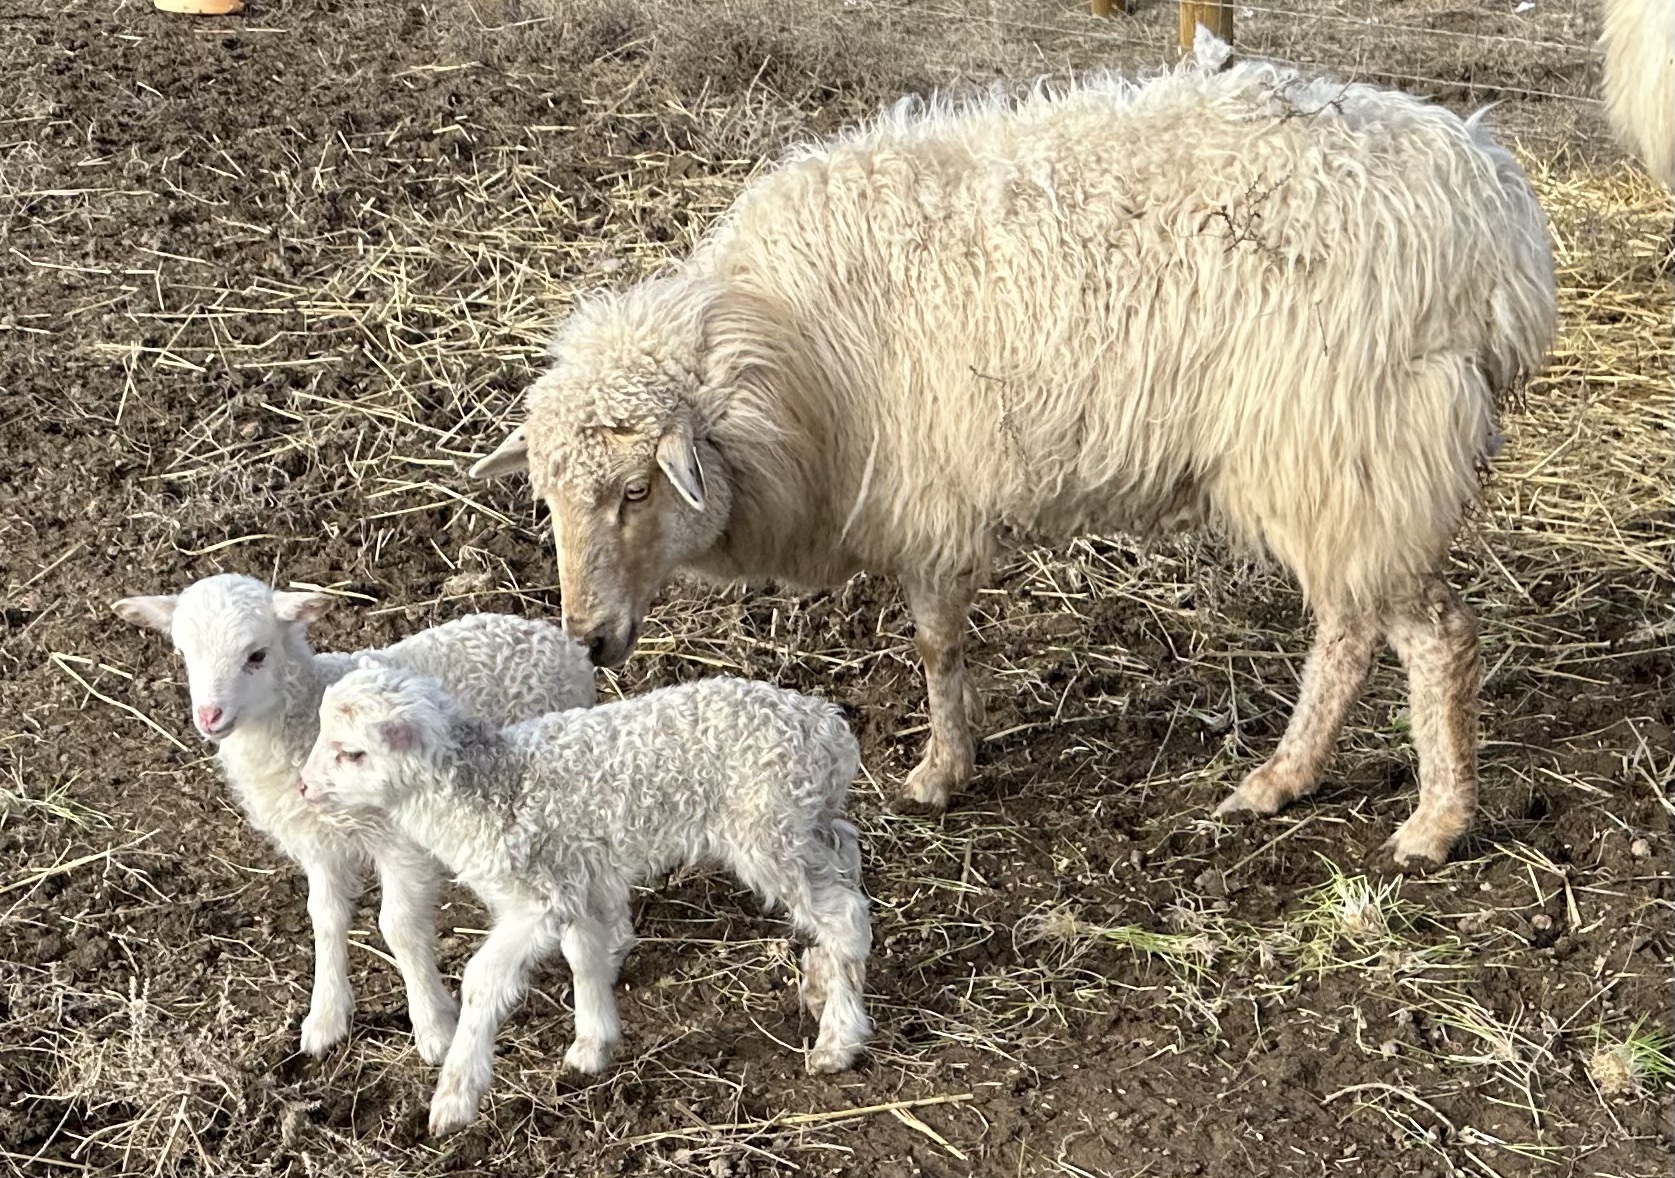
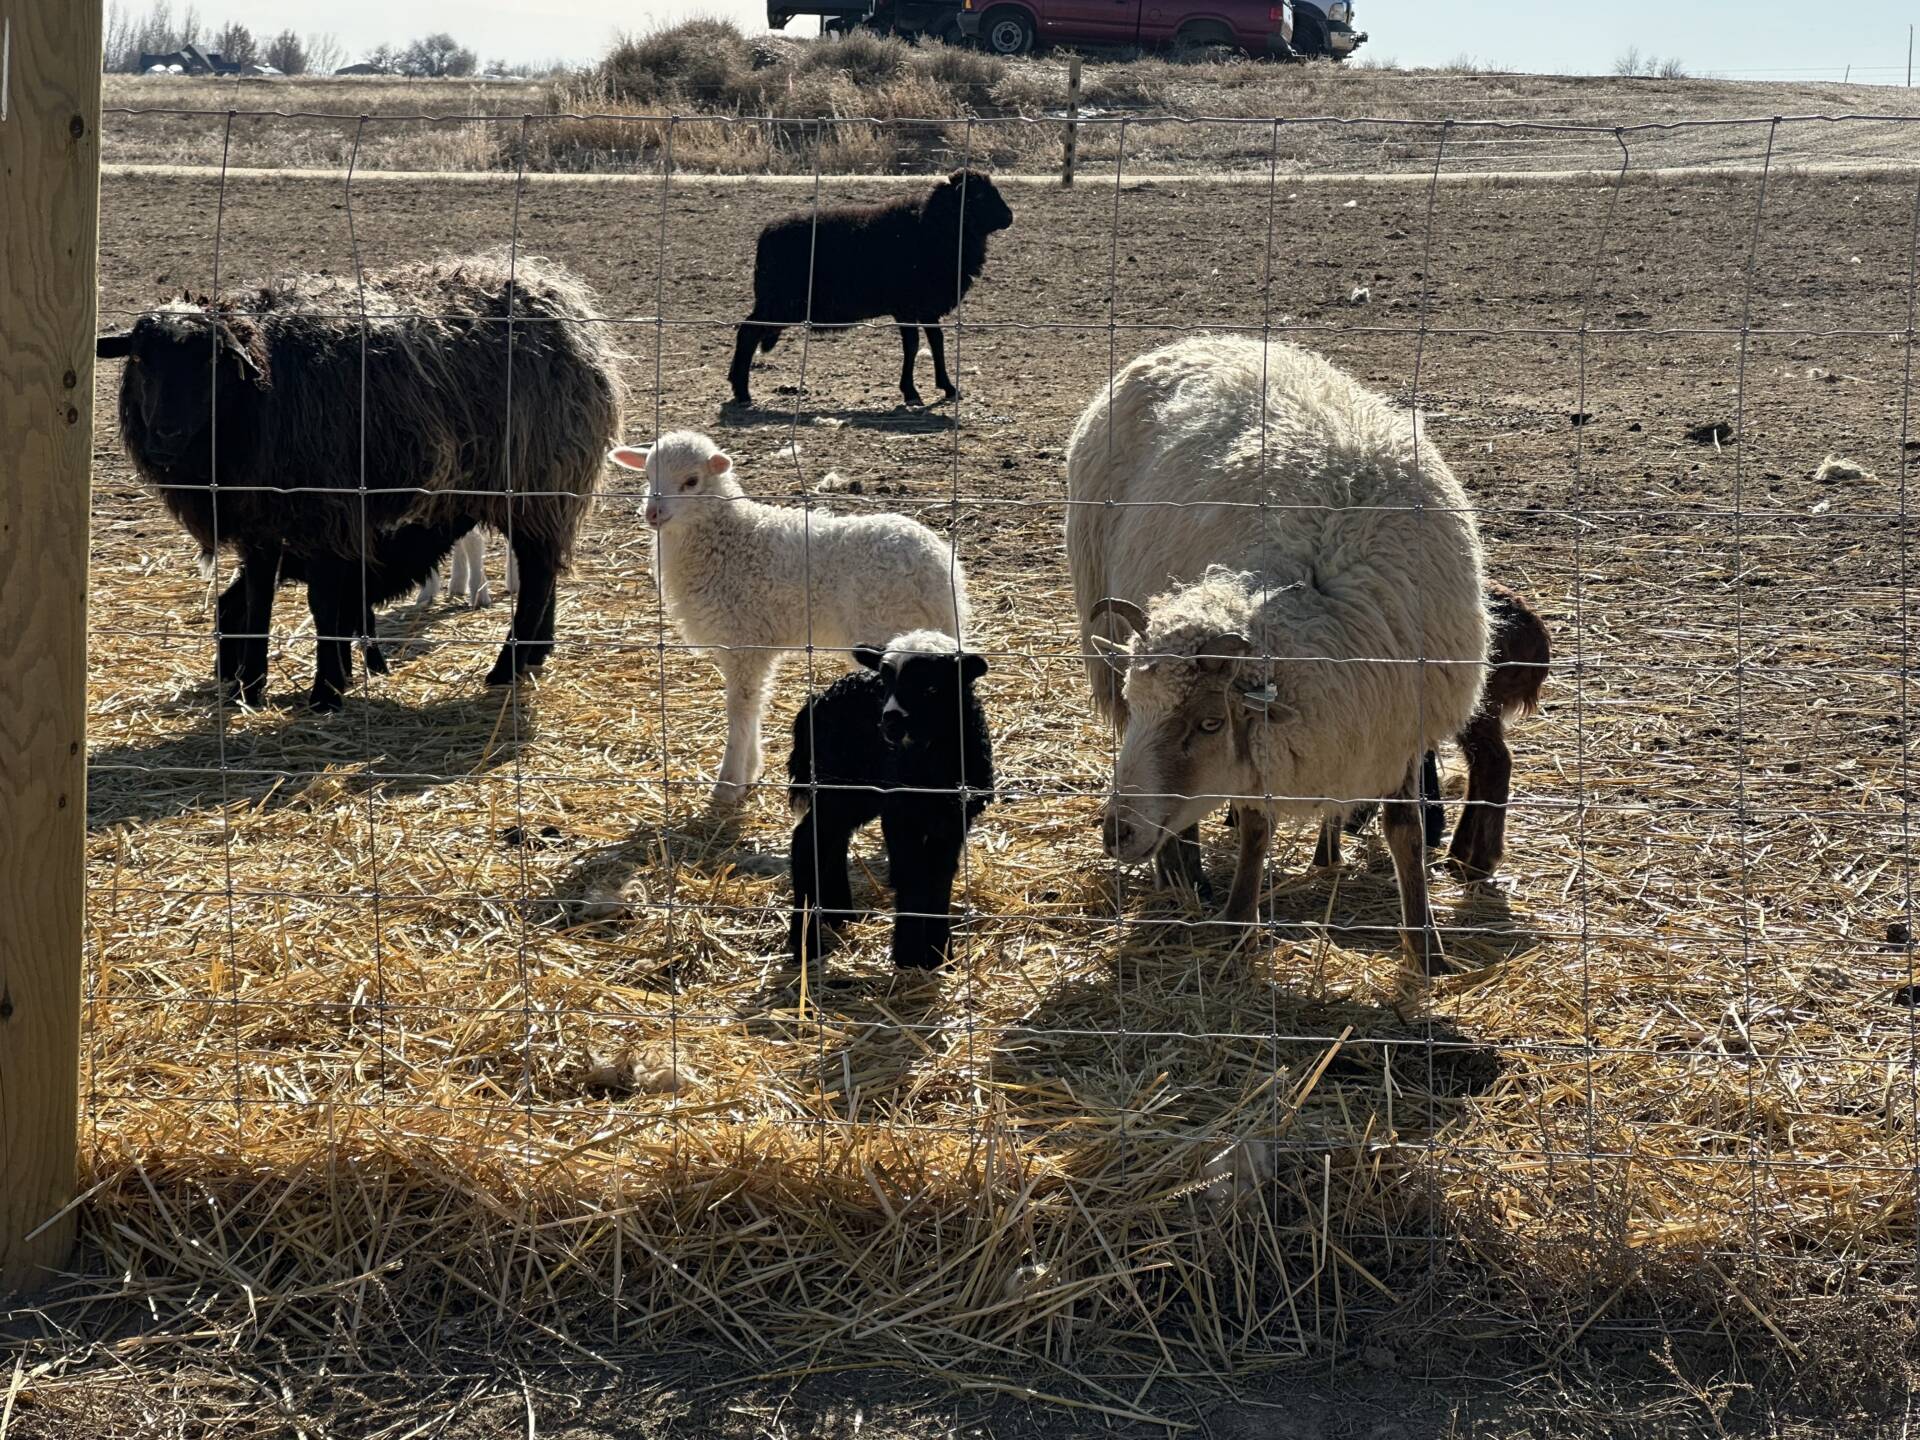
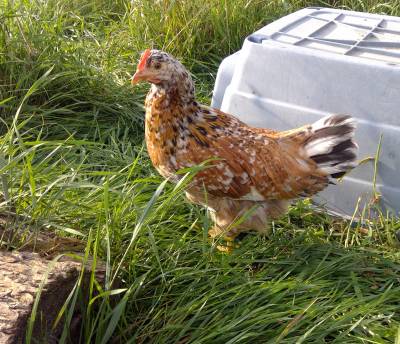
Finally, while spring isn’t springing up quite as early as usual (typically we have animals out grazing on fresh pasture by now) we have sweet lambs popping up everywhere. It’s a good thing they are born with wool coats!
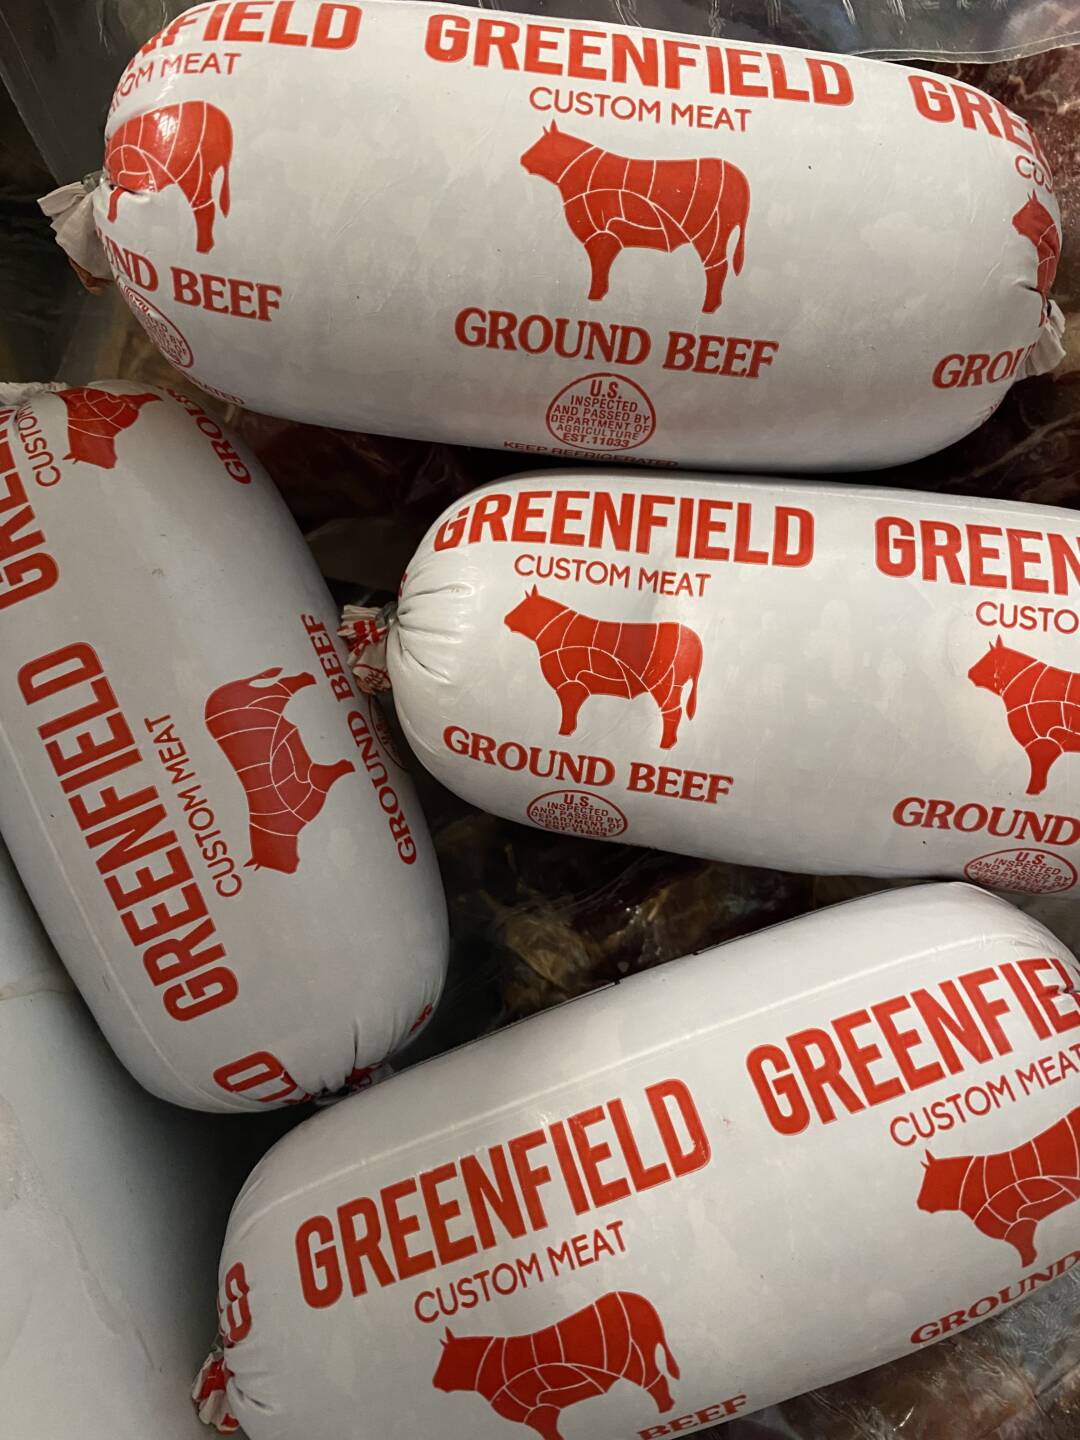
If you’re local and in the market for some beef or chicken, I’ve included our latest price list below.
In addition to our grass-finished beef and pastured chicken meat we also have a limited supply of grain-fed beef (non-GMO grain).
We typically don’t grain finish, but if there’s ongoing demand for a grain-finished non-GMO product we will continue to do so–just let us know if that’s a preference for your family.
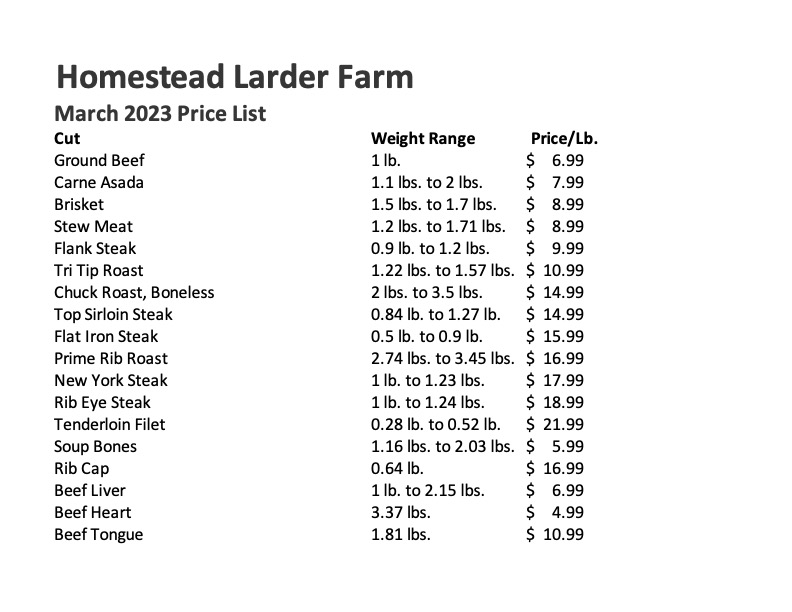
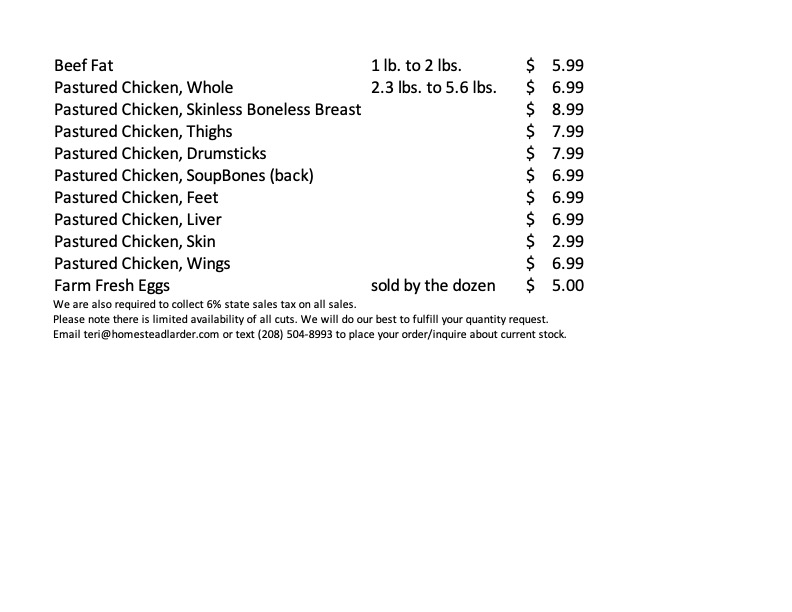
If you have any questions or would like to place an order feel free to call, text, or email. We offer a 10% discount on bulk orders of $150 or more.
We are in Nampa several times a week and occasionally in Meridian and Boise so feel free to reach out if you would like to coordinate a time to pick up an order without making the drive out to Sandhollow.


 Here’s a great tip to keep your hens cool on hot days from email subscriber Jim Anderson: