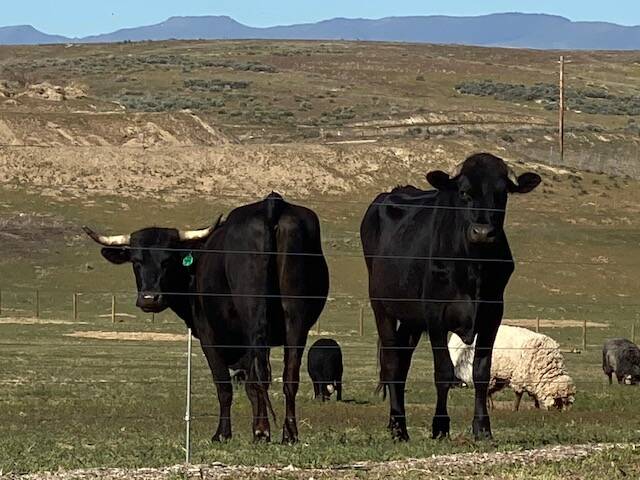
Beautiful Green Pastures
Spring has sprung and our animals are loving the abundance of delicious green goodies popping up all over their pasture!
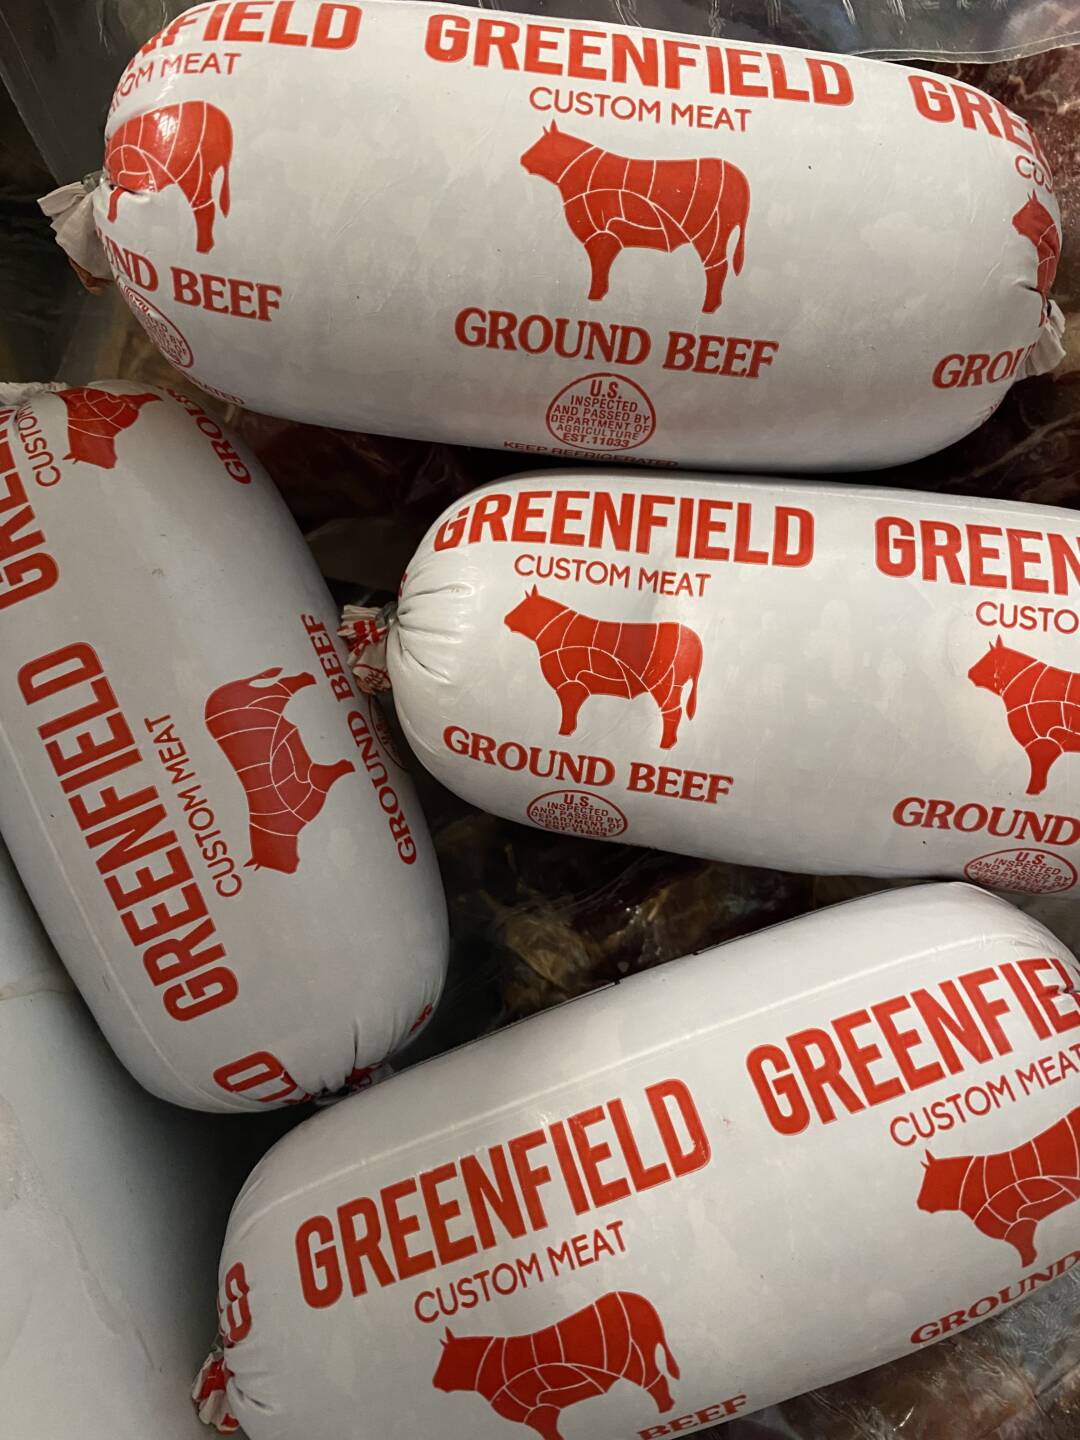
New in Stock
Want to test your tastebuds out on more than one variety of ground beef?
We have some fantastic 100% grass fed and finished Hereford beef now in stock.
It’s packed in one-pound chubs just like our ground Jersey beef.
Both types of ground beef are available for $6.99 a pound.
Homestead Larder Farm
May Price List

Ground Beef $6.99/lb.
Carne Asada $7.99/lb.
Brisket $8.99/lb.
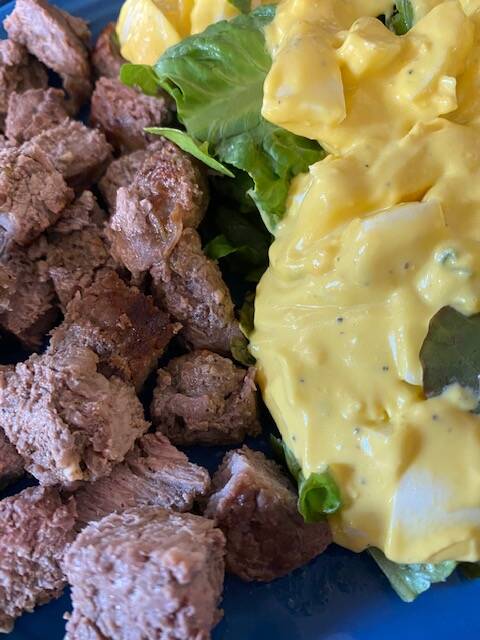
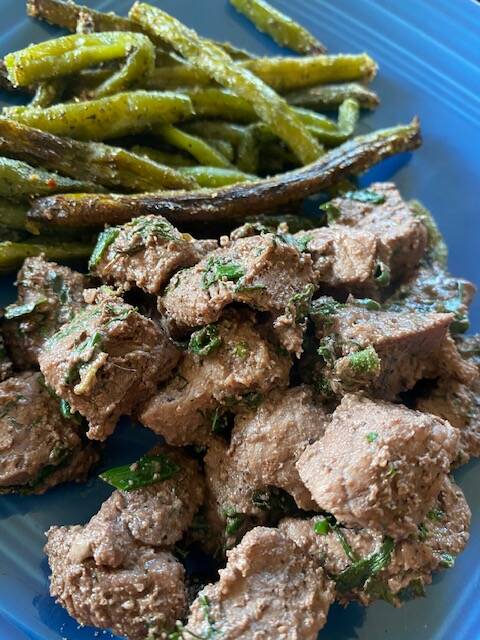
Stew Meat $8.99/lb.
Flank Steak $9.99/lb.
Tri Tip Roast $10.99/lb.
Chuck Roast, Boneless $14.99/lb.
Top Sirloin Steak $14.99/lb.
Flat Iron Steak $15.99/lb.
Prime Rib Roast $16.99/lb.
New York Steak $17.99/lb.
Rib Eye Steak $18.99/lb.
Tenderloin Filet $21.99/lb.
Soup Bones $4.99/lb.
Rib Cap $16.99/lb.
Beef Liver $6.99/lb.
Beef Heart $4.99/lb.
Beef Tongue $10.99/lb.
Beef Fat $5.99/lb.
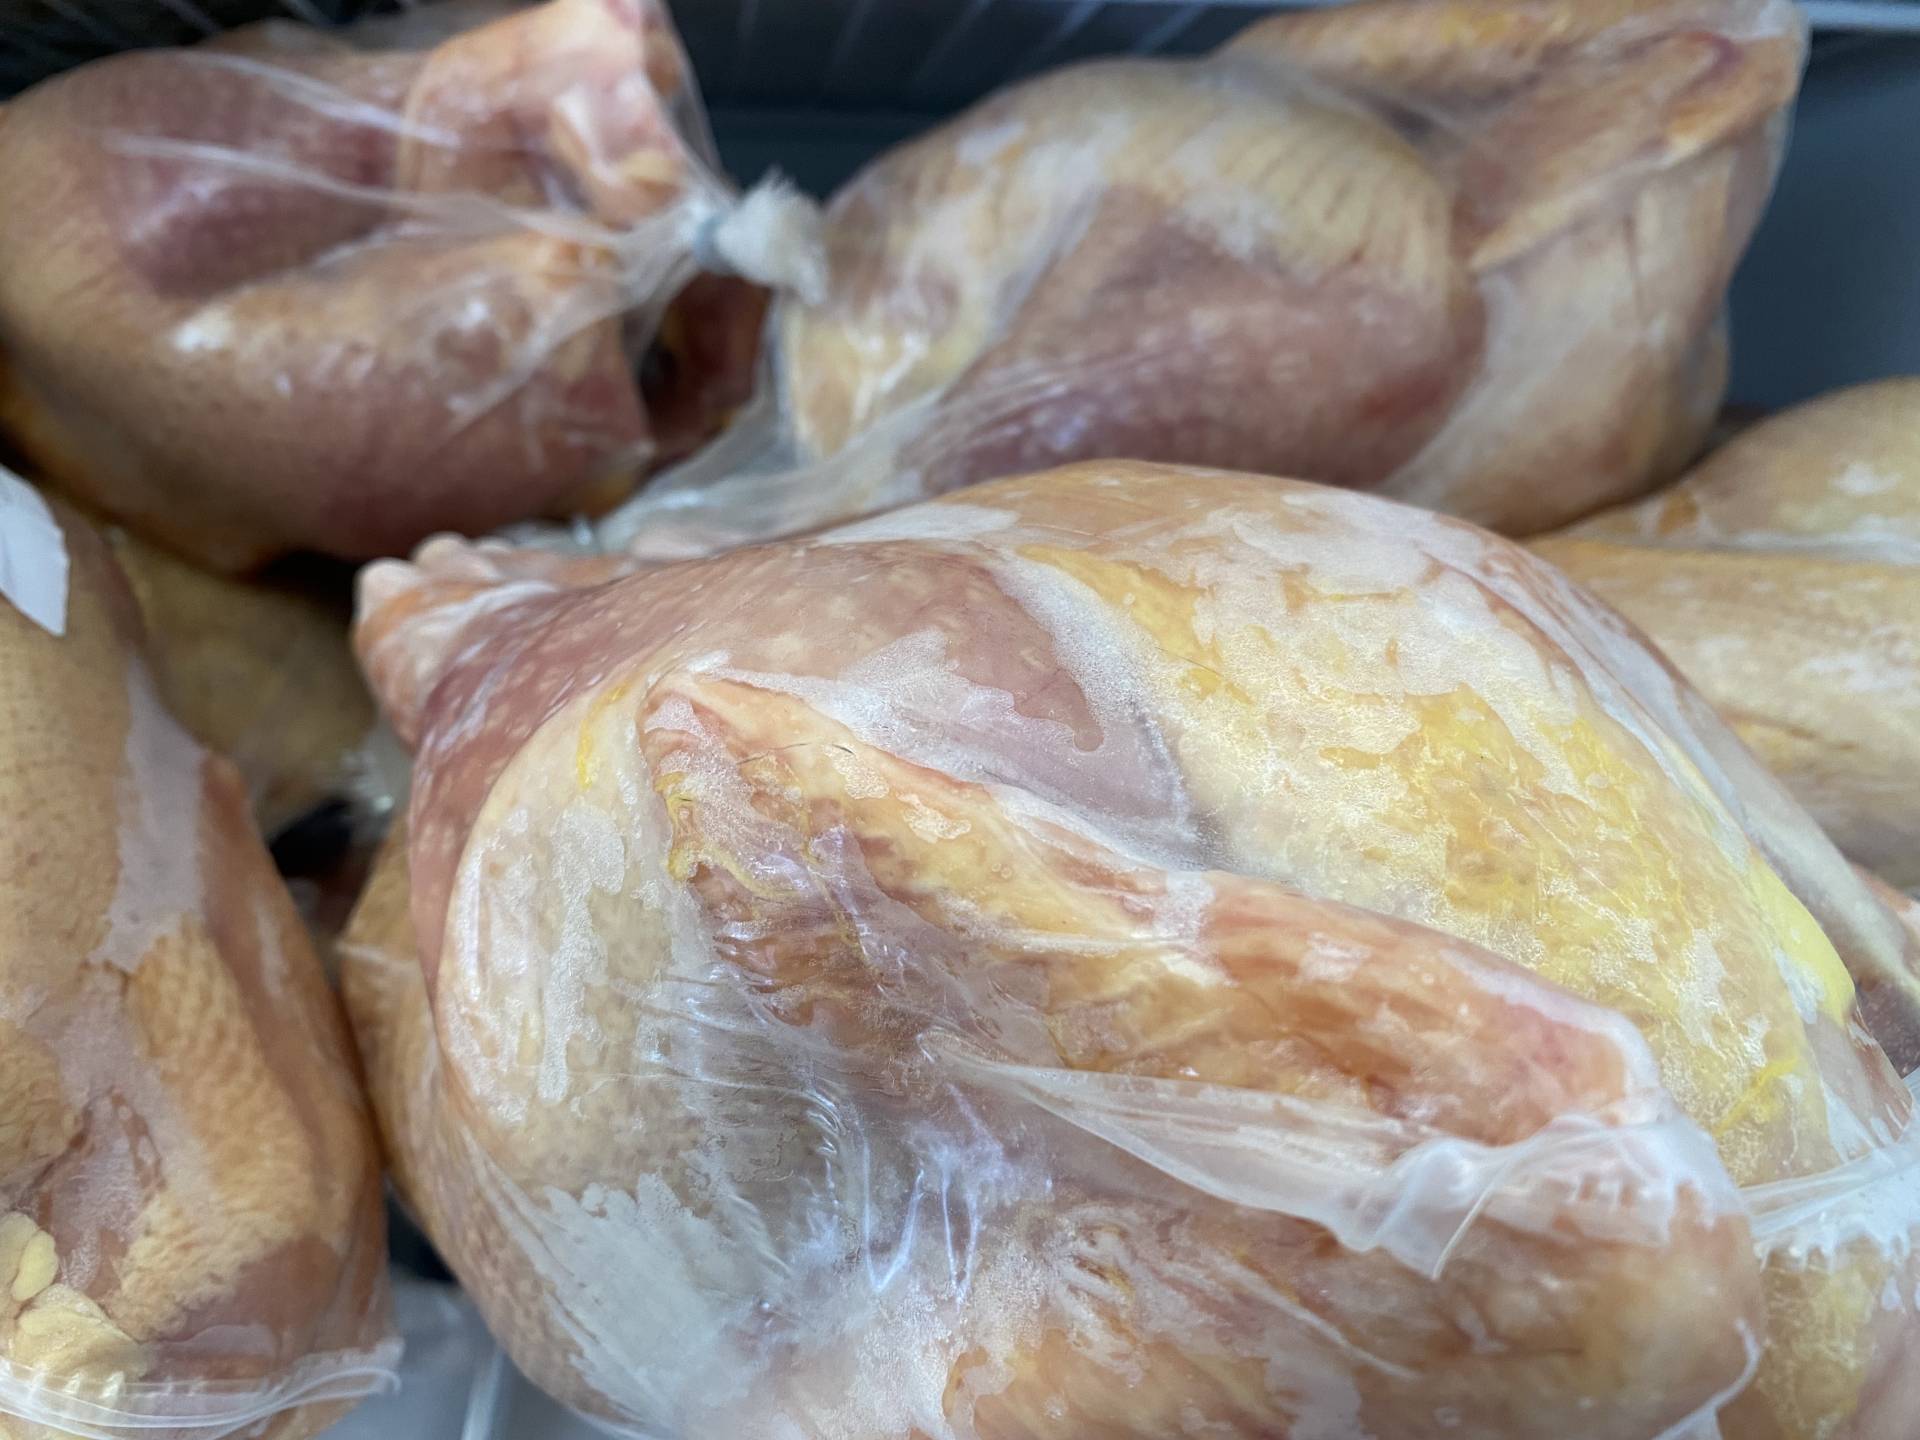
Pastured Chicken, Whole $5.99/lb.
Pastured Heritage Turkey $6.99/lb.
Farm Fresh Eggs $ 3.50/dozen
Click here to download a handy price list with estimated weight ranges for each cut.
We are required to collect 6% state sales tax on all sales.
Please note there is limited availability of all cuts. We will do our best to fulfill your quantity request.
Email teri@homesteadlarder.com to place your order/inquire about current stock.
Meat is available for local pickup only in the Boise, Idaho metro area.

Farm Update: Puppy Watch
If you’ve visited our farm, you’ve likely met our Livestock Guardian Dog Misty up close and personal. (More than likely too close and too personal. Sorry!)
All little Farmer Justin can talk about these days is what he wants to see in a littler of puppies—and his best estimates regarding their height on arrival and eventual “keep away a wolf” size.
By our June newsletter we will be able to report on either a new litter of puppies—or the futility of our little guy’s hope and dreams.
Try our secret ingredient free in May!
Get a free packet of our absolute favorite seasoning mix for free when you purchase $50 or more of farm products in May.
We promise you’re going to absolutely love this easy and amazing way to add flavor to your dishes with a product you can trust from Frontier Co-op.